Welcome to Your Home Barista Journey!
Ever dreamt of crafting café-quality coffee right in your own kitchen? The good news is, becoming a home barista is more accessible than you think! At Coffee Brew Hub, we believe everyone can master the art of coffee brewing. This ultimate starter guide will equip you with the essential gear and foundational techniques to transform your morning ritual from mundane to magnificent.
Why Become a Home Barista?
Beyond the undeniable satisfaction of brewing your perfect cup, home brewing offers incredible benefits:
- Cost Savings: Your daily café habit adds up. Brewing at home is significantly more economical.
- Customization: Experiment with ratios, grind sizes, and brew times to tailor every cup to your exact preference.
- Exploration: Discover diverse beans, roasts, and brewing methods from around the world.
- The Joy of Creation: There’s a unique pleasure in the ritual and the delicious reward of your own handiwork.
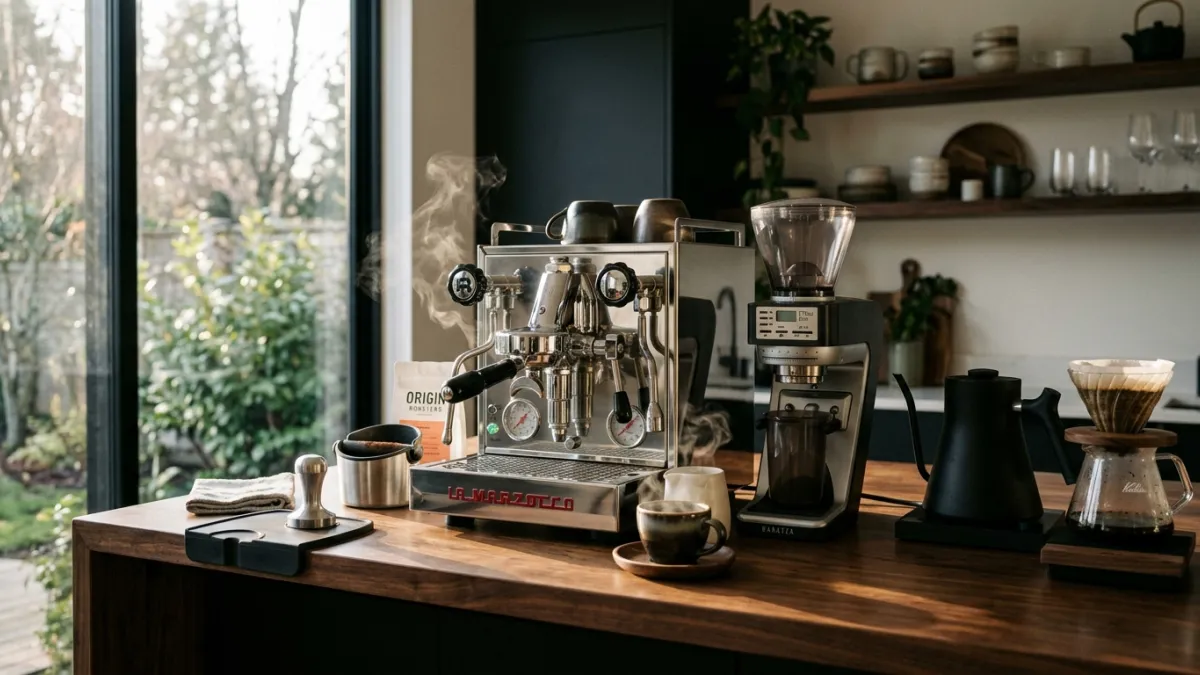
Essential Gear for the Aspiring Home Barista
You don't need a professional espresso machine to make fantastic coffee. Start with these fundamental tools that offer the biggest impact on your brew quality.
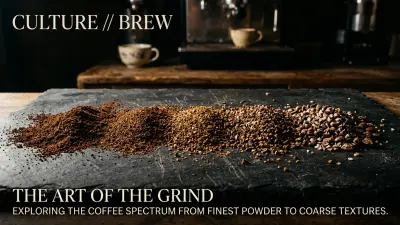
1. The Coffee Grinder: Your Most Important Investment
This is where many beginners falter. Pre-ground coffee loses flavor rapidly. A good grinder is non-negotiable for fresh, flavorful coffee.
- Burr Grinder (Recommended): These grinders crush beans uniformly, resulting in an even extraction and superior flavor. Look for conical or flat burr grinders. They offer precise control over grind size, crucial for different brewing methods.
- Blade Grinder (Avoid if Possible): These "chop" beans inconsistently, creating a mix of fine dust and large chunks. This leads to uneven extraction and a less pleasant taste.
2. Digital Scale with Timer: Precision is Key
Consistency is the hallmark of great coffee. Measuring by volume (scoops) is inaccurate. A digital scale allows you to precisely measure your coffee grounds and water, ensuring repeatable results every time.
- Look for one that measures in 0.1-gram increments.
- An integrated timer is a bonus for tracking brew times.
3. Water Kettle: Temperature Control Matters
The right water temperature is critical for optimal extraction. Too hot, and you risk over-extraction and bitterness; too cold, and you get under-extraction and a weak, sour cup.
- Gooseneck Kettle: Essential for pour-over methods, offering precise control over the water flow.
- Electric Kettle with Temperature Control: Great for any method, allowing you to set the exact temperature (typically 200-205°F or 93-96°C).
4. Your First Brewing Device: Choose Your Adventure
There are many wonderful brewing methods, each offering a unique coffee experience. Here are three excellent starting points:
- French Press: Known for its full-bodied, rich brew. It's forgiving and doesn't require precise pouring technique.
- Pour Over (Hario V60, Chemex, Kalita Wave): Produces a clean, nuanced cup, highlighting the coffee's delicate flavors. Requires a bit more technique and a gooseneck kettle.
- AeroPress: Incredibly versatile, compact, and brews a smooth, clean cup with minimal sediment. Great for travel and experimentation.
Basic Brews: Your First Steps to Deliciousness
Before diving into specific methods, remember these universal "Golden Rules" for fantastic coffee:
- Use Freshly Roasted, Quality Beans: Look for a roast date, not a "best by" date. Aim to brew within 2-4 weeks of roasting.
- Grind Fresh Just Before Brewing: This preserves volatile aromas and flavors.
- Use Good Quality Water: Filtered water free from strong odors or tastes is best.
- Master Your Ratio: A common starting point is a 1:15 to 1:17 coffee-to-water ratio (e.g., 1g coffee to 15g water).
- Control Water Temperature: Aim for 200-205°F (93-96°C).
1. French Press Method (Full-Bodied & Rich)
What you'll need: French Press, digital scale, burr grinder, kettle, fresh coffee beans (medium-coarse grind).
- Heat water to 200-205°F (93-96°C).
- Measure your coffee beans (e.g., 30g for a 2-cup press). Grind them to a medium-coarse consistency.
- Add ground coffee to the French Press.
- Start timer, pour just enough hot water to saturate the grounds (about twice the coffee weight, e.g., 60g water for 30g coffee). Let it bloom for 30 seconds.
- Pour the remaining water slowly until you reach your desired ratio (e.g., 450g water total for 30g coffee).
- Gently stir the "crust" of grounds at the top.
- Place the plunger lid on, but don't press yet. Let steep for 4 minutes.
- Slowly and steadily press the plunger all the way down.
- Serve immediately and enjoy!
2. Pour Over Method (Clean & Nuanced)
What you'll need: Pour Over dripper (V60), paper filter, gooseneck kettle, digital scale, burr grinder, fresh coffee beans (medium grind).
- Heat water to 200-205°F (93-96°C).
- Place your filter in the dripper and rinse it with hot water to remove paper taste and pre-heat the brewer. Discard the rinse water.
- Measure your coffee beans (e.g., 20g). Grind them to a medium consistency (like table salt).
- Add ground coffee to the filter, gently shake to level the bed.
- Start timer, pour just enough hot water (e.g., 40g for 20g coffee) in a spiral motion to saturate all grounds. Let it "bloom" for 30-45 seconds.
- Continue pouring hot water slowly in concentric circles, from the center outwards, avoiding the filter walls. Aim for a total brew time of 2:30-3:30 minutes.
- Once your desired water weight is reached (e.g., 300g total for 20g coffee), let all the water drip through.
- Remove the dripper, serve, and savor the delicate flavors.
Your Journey Has Just Begun!
Mastering these basic methods is your first step. From here, the world of coffee brewing is vast and exciting! Experiment with different beans, explore grind sizes, and discover new techniques. Coffee Brew Hub is here to support you every step of the way. Happy brewing!