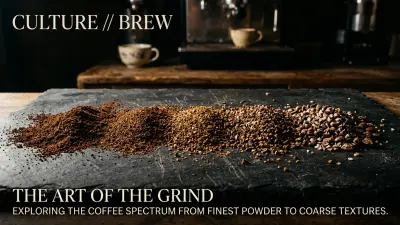
Unlock Your Palate: A Beginner's Guide to Coffee Cupping
Ever wondered how coffee professionals describe a brew with terms like "blackberry acidity" or "chocolate undertones"? It's not magic; it's a skill cultivated through practice, often starting with a standardized method called coffee cupping. As a home coffee enthusiast, learning to cup can profoundly deepen your appreciation, help you pick better beans, and even improve your daily brewing technique. Think of it as tuning your taste buds to truly understand the liquid gold in your mug.
Ready to embark on a sensory adventure? Let's dive into how you can taste coffee like a pro, right in your own kitchen.
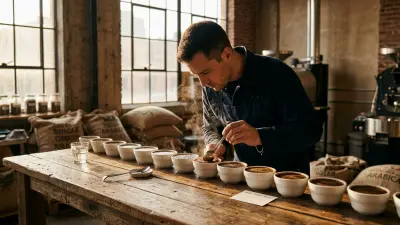
What Exactly is Coffee Cupping?
Cupping is a systematic method for evaluating coffee's aroma, flavor, acidity, body, and aftertaste. Developed by professionals, it allows for objective comparison of different coffees, revealing their inherent qualities without the influence of various brewing methods. For us home brewers, it's a fantastic way to develop our palate and understand what makes each coffee unique.
Why Should You Cup Coffee at Home?
- Understand Your Beans Better:
- Improve Your brewing:
- Expand Your Palate:Shop Smarter:
- Improve Your brewing:
Essential Equipment for Your First Cupping Session
You don't need fancy lab equipment to start. Most items you likely already have:
- Small Bowls:
- Freshly Roasted Coffee:
- Burr Grinder:
- Kettle:
- Scale:
- Timer:
- Spoon:
- Clean Water:
- Notebook & Pen (or Cupping Form):
- Freshly Roasted Coffee:
Your Step-by-Step Beginner's Cupping Guide
Let's get started! For consistency, we'll follow a common cupping standard.
Step 1: Preparation
- Measure Your Coffee:Grind:Heat Water:93-96°C (200-205°F).
Step 2: Dry Aroma (Fragrance)
With the grounds dry in the bowls, lean in and take a deep sniff. What do you smell? Floral, nutty, fruity, earthy, spicy?
Pour 150ml of your hot water over the grounds in each bowl. Ensure all grounds are fully saturated. Don't stir! Start your timer immediately. Immediately after pouring the water, take another sniff. The hot water will extract new aromatic compounds. How does the smell compare to the dry aroma? More intense? Different notes emerging? After exactly 4 minutes of brewing, take your spoon and gently push the floating crust of grounds towards the back of the bowl. As you do this, lean in close and smell again. This "breaking" action releases a burst of new aromas. Repeat for each bowl, cleaning your spoon between samples. After breaking the crust, use your spoon to carefully skim off any remaining foam and grounds from the surface of each bowl. This prevents them from interfering with your tasting. This is where the magic happens! Wait a few more minutes for the coffee to cool slightly. The ideal tasting temperature is around 70°C (160°F), and you'll continue tasting as it cools down to reveal different characteristics. Jot down everything you experience. Even if it sounds silly, it’s your personal impression. Comparing notes helps you identify patterns and learn faster. Did you notice the same "nutty" note in both the dry aroma and the flavor? Learning to cup coffee like a professional is a journey, not a destination. It's about slowing down, engaging your senses, and truly connecting with the intricate world of coffee. By following this beginner's guide, you'll not only develop a more sophisticated palate but also unlock a deeper appreciation for every cup you brew. So, grab your bowls, fire up that kettle, and get ready to taste coffee like never before!Step 3: Brewing
Step 4: Wet Aroma (Crust Aroma)
Step 5: Breaking the Crust (4 Minutes)
Step 6: Skimming (5-6 Minutes)
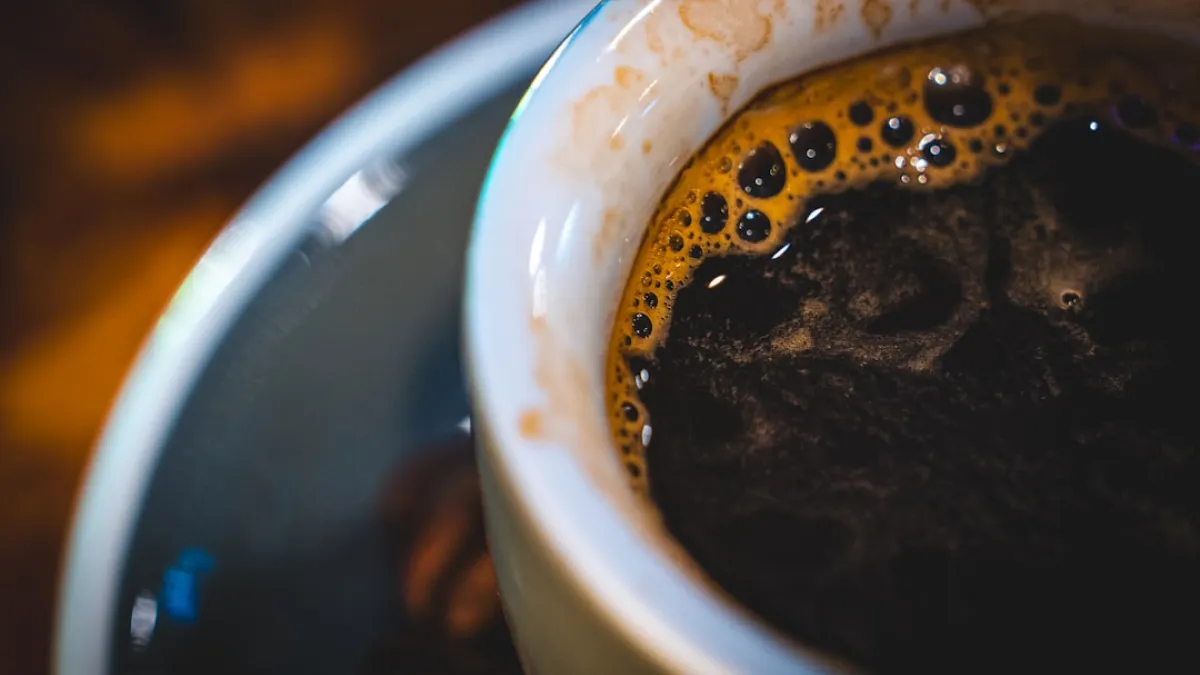
Step 7: The Tasting (8-15+ Minutes)
Step 8: Record Your Observations
Tips for Aspiring Coffee Tasters
Conclusion