Unlock the Secret: Your Perfect Cold Brew Coffee Ratio
Ah, cold brew. The smooth, low-acid, refreshing elixir that has taken the coffee world by storm. It's incredibly easy to make at home, yet many struggle to achieve that consistently delicious, perfectly balanced cup. The secret, my friend, often comes down to one crucial element: the cold brew coffee ratio. As your trusted barista friend, I'm here to give you the exact formula and actionable steps to brew a concentrate that will make your taste buds sing.
Forget vague instructions; we're diving deep into precise measurements, proper technique, and all the insider tips you need to become a cold brew master. Get ready to ditch the bitterness and embrace the bliss!
Why Cold Brew Concentrate is Your Best Friend
Before we reveal the golden ratio, let's understand why we focus on a concentrate. A concentrate is a highly potent coffee extract designed to be diluted later. Why bother? It offers several benefits:
- Versatility: You can dilute it with water, milk, or even use it in cocktails.
- Shelf Life: Concentrates last much longer in the fridge (up to two weeks) than ready-to-drink cold brew.
- Consistency: By diluting each serving, you ensure a consistent taste every time.
- Space Saving: Store a smaller amount of concentrate, then dilute as needed.
The Golden Cold Brew Ratio: 1:4 Coffee to Water (By Weight!)
Let's cut straight to it. For a rich, versatile cold brew concentrate that's strong enough to stand up to dilution without being overly bitter, the ideal starting ratio is 1 part coffee to 4 parts water. And yes, we're talking about weight, not volume!
- What this means: For every 1 gram of coffee, you'll use 4 grams (or milliliters) of water.
- Example: If you want to use 250 grams of coffee, you'll need 1000 grams (1 liter) of water.
- Why weight? Coffee beans vary in density. A scoop of light roast can weigh differently than a scoop of dark roast. Measuring by weight with a digital kitchen scale (like the Hario V60 Drip Scale or any good kitchen scale) ensures accuracy and repeatability, leading to consistent results every single time.
Step-by-Step: Brewing Your Perfect Cold Brew Concentrate
Now that you know the ratio, let's walk through the entire brewing process, from bean to bottle.
1. Choose Your Beans Wisely
- Roast Level: Medium to dark roasts often excel in cold brew, offering chocolatey, nutty, or caramel notes that shine through the smooth extraction. Lighter roasts can work but sometimes result in a less robust flavor profile when cold brewed.
- Freshness: While cold brew is more forgiving than hot brew, freshly roasted beans (within 2-4 weeks) will always yield the best flavor.
- Recommendations: Experiment! A smooth Brazilian coffee with chocolate notes, or a robust Colombian, can be fantastic. Even some sweeter Ethiopian or Guatemalan beans can produce delightful results.
2. Grind Coarse: Size Matters
This is critical! For cold brew, you need a very coarse grind, similar to sea salt or coarse cornmeal. Why?
- Prevents Over-extraction: A coarse grind slows down extraction, preventing bitterness and astringency over the long steep time.
- Easier Filtering: Larger particles mean less sludge and easier filtration.
Equipment: A quality burr grinder (Baratza Encore or Hario Skerton Pro) is highly recommended for consistent grind size. Blade grinders chop inconsistently and create too many "fines."
3. Measure Precisely (Again!)
Using your digital scale, measure out your coffee and water based on the 1:4 ratio. For example:
- 200g coffee : 800g water (0.8 liters)
- 250g coffee : 1000g water (1 liter)
- 300g coffee : 1200g water (1.2 liters)
Remember, 1 gram of water is approximately 1 milliliter. Filtered water is always best for brewing coffee – it allows the true flavors of the beans to shine without interference from tap impurities.
4. Combine and Steep: Time is Your Friend
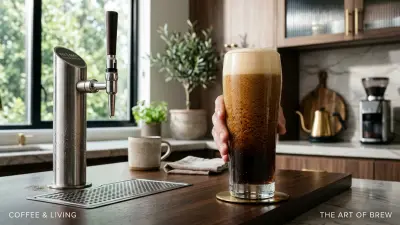
- Vessel: A large Mason jar, a French press, or a dedicated cold brew maker (Toddy Cold Brew System or OXO Cold Brew Coffee Maker) will work perfectly.
- Process: Place your coarse coffee grounds into your vessel. Slowly pour the measured water over the grounds, ensuring they are fully saturated. Stir gently with a spoon to ensure all grounds are wet – this is called "blooming" and helps with even extraction.
- Steeping Time: Cover your vessel and let it steep at room temperature or in the refrigerator. The ideal time is typically 12-18 hours.
- Room temperature: Extracts faster, usually 12-14 hours.
- Refrigerator: Extracts slower, usually 16-18 hours or even up to 24 hours.
Experiment to find your preferred strength. Shorter times yield lighter concentrates, longer times yield stronger.
5. Filter for Clarity: Patience Pays Off
After steeping, it's time to separate the concentrate from the grounds. This often requires a two-stage filtration process for optimal clarity.
- First Pass: Use a coarse filter like a fine-mesh strainer, the plunger of a French press, or a dedicated cold brew maker's filter (like the felt filter in a Toddy). This removes the majority of the grounds.
- Second Pass: For a super clean concentrate, filter again through a finer medium. Options include a Chemex paper filter, a V60 filter set in a funnel, cheesecloth, or a nut milk bag. This step removes any remaining "fines" and prevents sludge at the bottom of your concentrate.
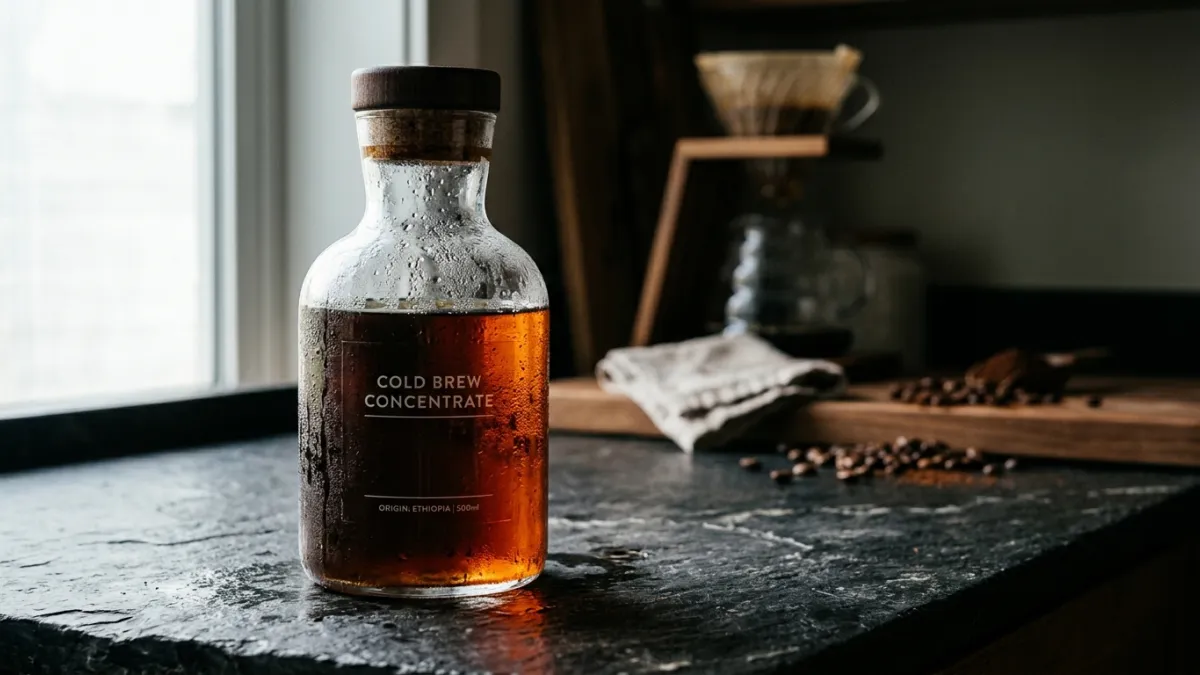
Once filtered, transfer your concentrate into an airtight container or bottle and store it in the refrigerator.
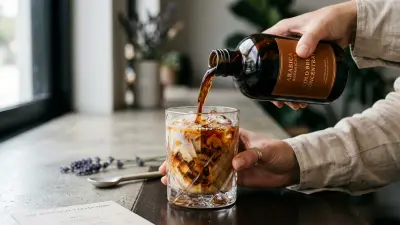
Diluting Your Concentrate: The Perfect Sip
Now for the best part! Your cold brew concentrate is strong, so it needs dilution. A great starting point is a 1:1 ratio.
- 1 part concentrate : 1 part water
- 1 part concentrate : 1 part milk (dairy or non-dairy like oat or almond milk)
Pour over ice and adjust to your personal preference. Some prefer a 1:2 ratio (more dilute), others a 2:1 ratio (stronger). Don't be afraid to experiment! You can even gently heat your diluted concentrate for a smooth, low-acid hot coffee.
Troubleshooting Common Cold Brew Issues
- Too Weak/Watery: Next time, try a slightly finer grind (but still coarse!), a longer steep time, or increase your coffee-to-water ratio slightly (e.g., 1:3.5).
- Too Bitter/Strong: Shorten your steep time, use a coarser grind, or reduce your coffee-to-water ratio (e.g., 1:4.5 or 1:5).
Enjoy Your Homemade Cold Brew!
Mastering the 1:4 coffee to water ratio by weight is your first big step towards consistently amazing cold brew. Remember, practice makes perfect, and don't be afraid to tweak small variables like steep time or specific bean choice to suit your palate. With these tips from Coffee Brew Hub, you'll be brewing barista-quality cold brew in no time!