Unlock Fresher Flavors: Your Guide to Cleaning a Coffee Maker with Vinegar
As passionate home baristas, we know the secret to a truly exceptional cup of coffee isn't just about the beans or the brew method; it's also about the cleanliness of your equipment. Over time, mineral deposits (limescale) from water, along with residual coffee oils, build up inside your beloved coffee maker. This unsightly buildup doesn't just look bad; it can clog internal components, slow down brewing, and, most importantly, negatively impact the flavor of your coffee.
At Coffee Brew Hub, we're dedicated to helping you master every aspect of your coffee journey. That's why we're sharing this simple, effective, and natural method for deep cleaning your coffee maker using a common household item: white vinegar. It's a game-changer for maintaining your machine and ensuring every brew is as delicious as it should be.
Why White Vinegar is Your Coffee Maker's Best Friend
White vinegar is a mild acid that effectively breaks down and dissolves mineral deposits and limescale without harsh chemicals. It's affordable, readily available, and safe for most drip coffee makers, single-serve machines (like K-cup brewers), and even percolators. Regular descaling with vinegar extends the life of your machine and guarantees a clean slate for your coffee, allowing its true flavors to shine through.
How Often Should You Clean Your Coffee Maker?
The frequency depends on your usage and water hardness:
- Daily: Rinse the carafe, lid, and brew basket after each use. Wipe down the exterior.
- Weekly: Wash removable parts (carafe, brew basket) with warm, soapy water.
- Monthly (or every 40-80 uses): Perform a deep clean with vinegar, especially if you have hard water. If you notice slower brewing or a change in taste, it's definitely time.
What You'll Need
- White distilled vinegar
- Fresh water
- Dish soap
- Soft cloth or sponge
- Your coffee maker
Your Step-by-Step Guide to a Sparkling Clean Coffee Maker
Ready to restore your machine to its former glory? Follow these simple steps:
- Prepare Your Machine:
First, ensure your coffee maker is unplugged and completely cool. Empty any remaining coffee from the carafe and remove the filter basket, any used coffee grounds, and old filters. Give the carafe and filter basket a quick rinse with warm water.
- Create the Vinegar Solution:
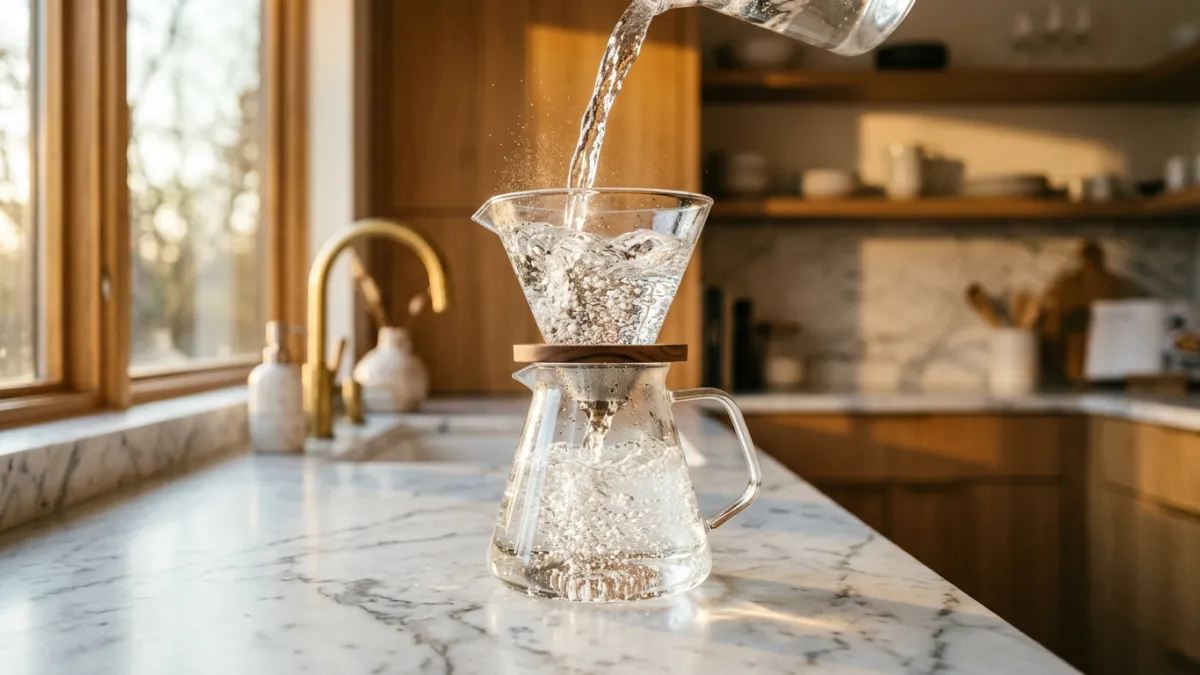
Pour equal parts white vinegar and fresh water into your coffee maker's water reservoir. For most standard 10-12 cup coffee makers, 2-4 cups of vinegar and 2-4 cups of water should suffice. Adjust the ratio to 1:1 depending on your machine's capacity.
- Initiate the First Brew Cycle (Partial):
Place the empty carafe back on the warming plate. Turn on your coffee maker and let it run for about half of a brewing cycle. You'll see the vinegar solution start to drip into the carafe. Once it's about halfway, switch off the machine. This allows the hot vinegar solution to sit and work its magic on the internal components.
- Let it Soak:
Allow the coffee maker to sit, turned off, for at least 30 minutes to an hour. For heavily scaled machines, you can even let it soak for a few hours. This soaking time is crucial for the vinegar to effectively dissolve stubborn mineral deposits.
- Complete the Brew Cycle:
After the soaking period, turn your coffee maker back on and let it complete the brewing cycle. Once finished, carefully discard the hot vinegar solution from the carafe. You might notice some brown or cloudy residue – that's the limescale being flushed out!
- Run Multiple Rinse Cycles:
This is a critical step to remove any lingering vinegar smell or taste. Fill the water reservoir completely with clean, fresh water. Run a full brewing cycle. Discard the water. Repeat this process at least two to three more times, or until the water coming out is clear and you can no longer detect any vinegar odor.
- Clean Removable Parts and Exterior:
While the machine is rinsing, take the opportunity to thoroughly clean the carafe, its lid, and the brew basket with warm, soapy water and a soft sponge. For stubborn coffee stains, a baking soda paste can work wonders. Rinse them thoroughly and let them air dry or wipe them with a clean cloth. Finally, use a damp cloth to wipe down the exterior of your coffee maker, removing any spills or dust.
Pro Tips for a Consistently Clean Machine
- Check Your Showerhead: Don't forget to inspect the showerhead (where the water dispenses over the coffee grounds). Mineral buildup here can block water flow. If visible, gently scrub with an old toothbrush dipped in vinegar.
- For Stubborn Stains: If your carafe has persistent coffee stains, fill it with warm water, add a tablespoon of rice, and swirl it around. The abrasive action of the rice can help dislodge stains.
- Hard Water Areas: If you live in an area with particularly hard water, consider using filtered water for brewing and increase your vinegar cleaning frequency to every 2-3 weeks.
- Read Your Manual: Always check your coffee maker's instruction manual. While vinegar is generally safe, some manufacturers might recommend specific descaling solutions or have unique cleaning instructions.
Enjoy Your Freshly Cleaned Coffee!
Congratulations! You've successfully deep-cleaned your coffee maker with vinegar. You'll not only notice a visibly cleaner machine but, more importantly, a significant improvement in the taste and aroma of your coffee. Regular maintenance, like this vinegar cleaning method from Coffee Brew Hub, is a small effort that yields huge rewards in your daily brewing ritual. Happy brewing!